Robby’s Winterfest Baking #7
The “baking therapy” discussed on this blog refers to my personal experience using baking as a self-help and relaxation tool.”


Hey, Everybirdy! Welcome back to the nest.
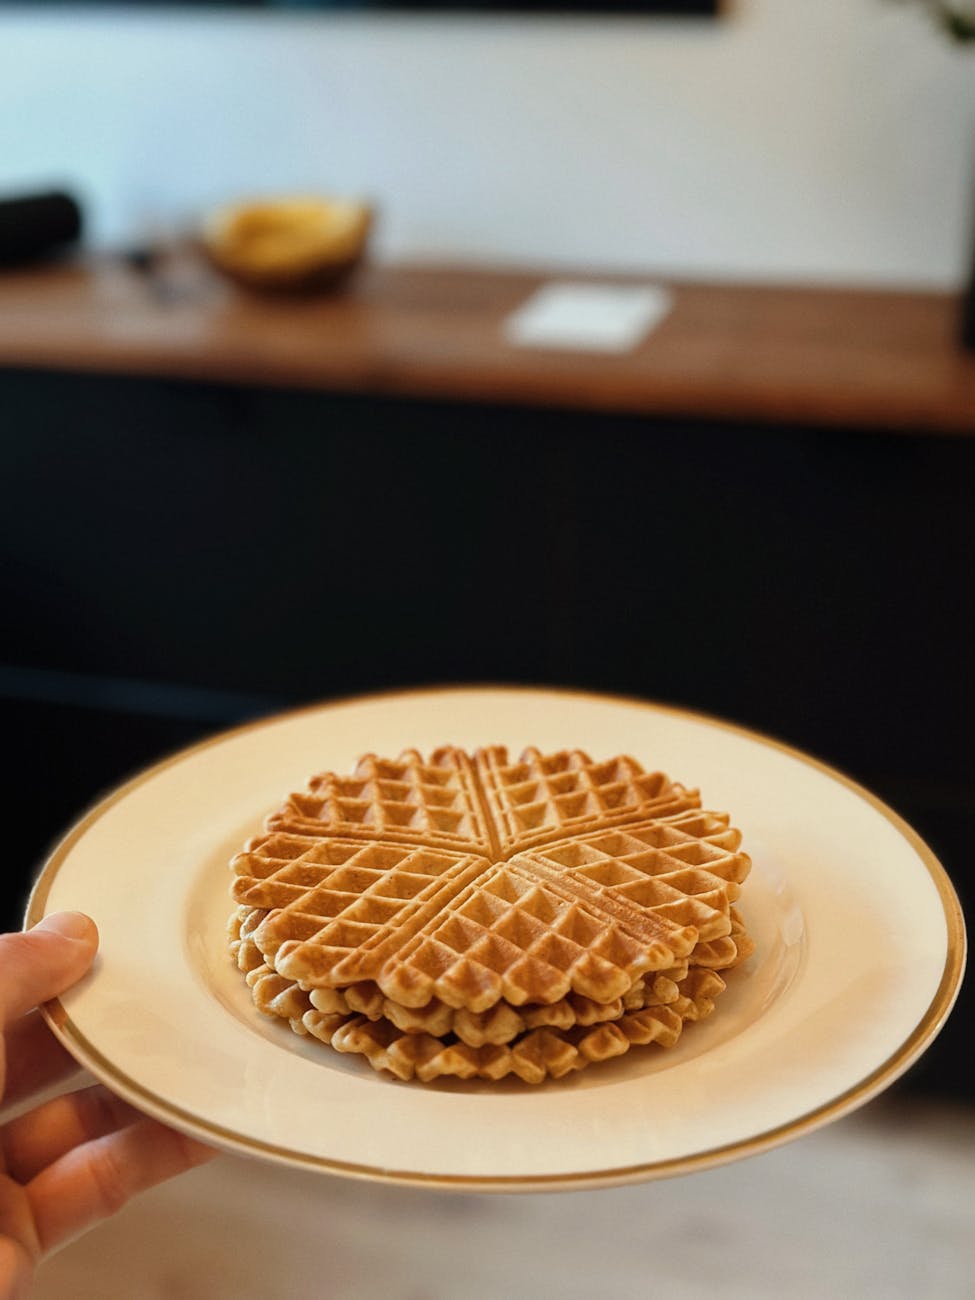
Today, we are diving into a recipe that is as beautiful as it is delicious: classic Italian pizzelles. These waffle-style cookies are light, crisp, and delicately patterned. While people usually save them for the holidays, they are so simple and budget-friendly that you’ll want to make them year-round.
There is something deeply grounding about making pizzelles. Because you press them one or two at a time, the machine forces you to slow down and stay present. You can’t rush the process—it’s the perfect excuse to put on a good podcast, take a breath, and let the sweet aroma of vanilla fill your kitchen.
Before we jump into the ingredients, you can read my personal updates, deep dives, and exclusive sneak peeks of my upcoming book over on Substack.
The Essentials
This budget-friendly treat uses basic pantry staples to create a bakery-quality cookie right on your countertop:
- 1/2 Cup Margarine (1 stick): Softened or melted. Using margarine helps the cookies crisp up and hold their delicate pattern without spreading too thin!
- 2/3 Cup Sugar: Gives just the right amount of sweetness.
- 3 Eggs: At room temperature to give the batter lightness and structure.
- 1 3/4 to 2 Cups All-Purpose Flour: Start with 1 3/4 cups and add a bit more if your batter feels too loose.
- 1 Teaspoon Baking Powder: Helps the pizzelles puff up slightly before crisping.
- 1 Teaspoon Vanilla Extract: (Or traditional anise extract if you like that classic licorice flavor!)
- Pinch of Salt: To balance the sweetness.
*Visit my Patreon for a free post featuring the full Walmart price breakdown for this budget-friendly bake!*


Let’s Get Baking
- Prep the Batter: In a large bowl, beat your eggs and sugar together until light and fluffy. Stir in your cooled, melted margarine and vanilla. Gently fold in the flour, baking powder, and salt until just combined. Don’t worry when the batter comes out thick and sticky—that is exactly what you want!
- Heat the Iron: Plug in your pizzelle iron and let it heat completely. Lightly coat both the top and bottom grids with a bit of non-stick cooking spray or vegetable oil so your cookies release effortlessly.
- The Drop: Drop about a rounded tablespoon of batter right onto the center of each patterned grid on your heated iron.
- The Quick Bake: Gently close and latch the lid. Bake for 30 to 45 seconds (or up to 2 minutes for the first batch as the iron warms up). A great trick is to watch the steam—once the steam stops pouring out and the cookies turn a light golden brown, they are done.
- Cool for Crispness: Carefully remove the hot pizzelles using a thin spatula or fork. Lay them in a single layer flat on a wire cooling rack. They will feel soft right out of the iron, but they crisp up fast as they cool!
Questions & Answers
Can I use a regular waffle maker if I don’t have a pizzelle iron?
While the idea is similar, a regular waffle maker won’t yield the same crisp result. Pizzelles are meant to be paper-thin and crunchy like a sweet cracker, whereas waffles are thick and fluffy. For authentic results, a dedicated pizzelle iron is best!
How do I keep my pizzelles nice and crisp?
The secret is letting them cool completely in a single layer on a flat surface before stacking them. Stacking warm cookies traps steam and makes them soft. Once fully cool, store them in an airtight container to keep that perfect crunch.
Why use margarine instead of butter?
Imperial margarine is super budget-friendly (often around $1.24 a box!), but it also serves a baking purpose here: it helps the cookies hold their crisp texture and intricate patterns without spreading or getting greasy.


Join the Flock!
If you want to grab the same budget-friendly baking tools and ingredients I used today, you can find them right over on my Benable.
In Robby’s kitchen, we believe everyone starts somewhere—whether your first batch was as heavy as a brick or picture-perfect. Baking therapy is all about taking things one step at a time and finding connection in the kitchen.
Your support helps keep this mission flying! If you want to dive deeper into the community, you can read my personal updates and deep dives on Substack, get exclusive Budget Breakdowns of my recipes over on Patreon, or find pay-what-you-want recipes and direct services on my Ko-fi.
I’d love to hear from you. Have you ever made pizzelles before, or are you sticking with classic vanilla for your first batch? Drop a comment below and let me know!*
Be sure to fly on back for the next recipe! Until then, remember: you aren’t alone in the kitchen, and there’s always a little peace to be found in the oven.
Happy baking, everybirdy!

Pizzelle
Ingredients
- ½ shortening
- ⅔ cup sugar
- 3 eggs
- 1 ¾ – 2 Cups Flour
- 1 tsp. Baking Powder
- 1 tsp. Vanilla.
- Pinch of salt
Directions
- In a large bowl, beat your eggs and sugar thoroughly until the mixture looks nice, light, and fluffy. Gradually stir in your cooled, melted shortening (or butter/margarine if that's what you have) along with your favorite extract—vanilla works beautifully, or you can go traditional with anise.
- Sift your flour, baking powder, and a pinch of salt together in a separate small bowl. Gradually fold this into your wet egg mixture until just combined. Don’t worry when the dough turns out heavy, thick, and sticky—that is exactly what you want.
- Preheat your pizzelle iron. Use a pastry brush or a simple folded paper towel to lightly coat both the top and bottom grids with a bit of vegetable oil or shortening so your cookies release effortlessly.
- Drop about a rounded tablespoon of the thick batter right onto the center of each patterned grid on your heated iron. Gently close the lid securely and latch it shut.
- Cook for about 30 to 45 seconds. A great trick is to simply watch the steam, once it stops pouring out and the cookies turn a beautiful light golden brown, they are ready.
- Carefully remove the hot pizzelles with a fork or thin spatula. Lay them flat on a wire cooling rack in a single layer so they crisp up completely into delicate, satisfying treats. This straightforward batch makes about 3 dozen cookies.
Leave a Reply