Robby’s Winterfest Baking #4
The “baking therapy” discussed on this blog refers to my personal experience using baking as a self-help and relaxation tool.”
Hey, Everybirdy! 🦜
Welcome back to the nest! Today, we’re making what many call the ultimate holiday treat. This recipe Comes from a vintage Betty Crocker Cooky Book that my mom and I both cherish. I’ve always loved the nostalgia of old-school recipes- there’s something incredible therapeutic about bring a classic bake to life in your own kitchen.

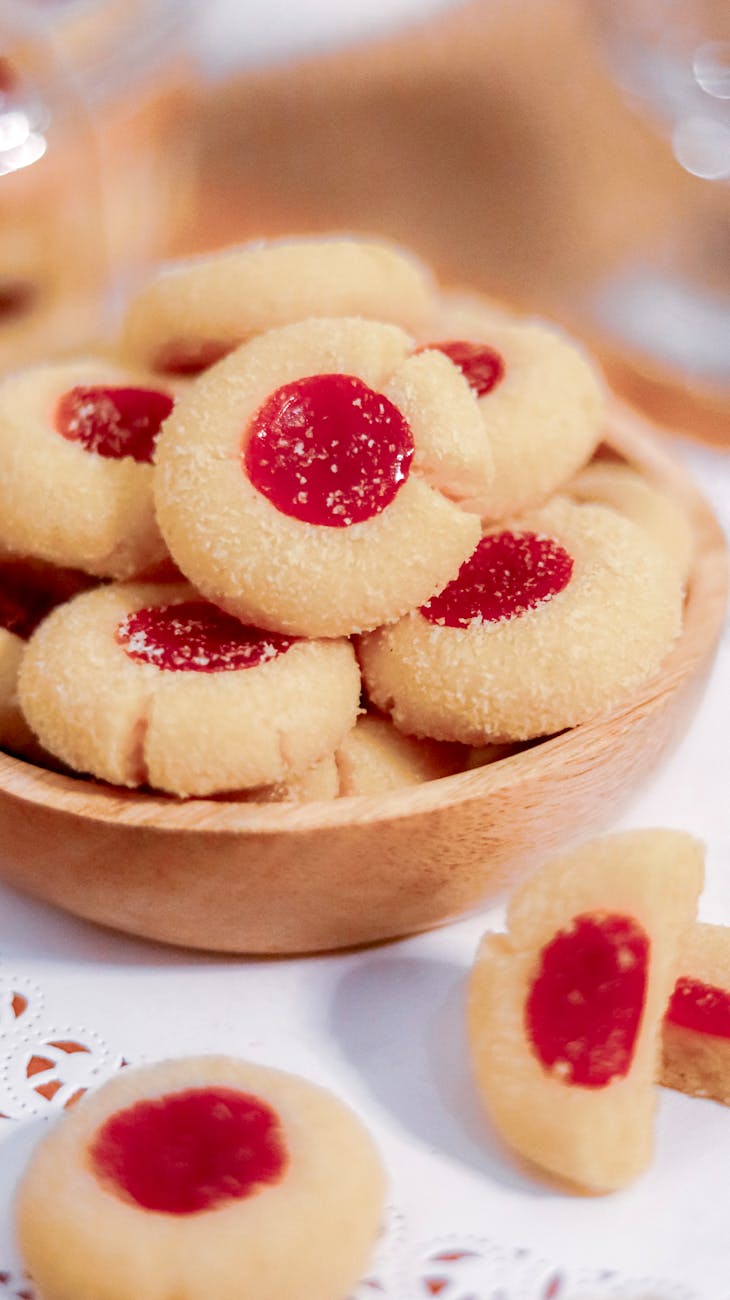
These Thumbprint Cookies are soft, buttery, and rolled in crunchy walnuts with a sweet jelly center. They are perfect addition to any holiday cookie tray and a great way to find your “kitchen zen.”

🛒The Essentials (Ingredients)
- 1/2 Cup Margarine: Original recipe calls for shortening but as we all know shortening price has gone up. You could also use butter.
- 1/4 cup Packed Brown Sugar: For that cozy, caramelized sweetness.
- 1 Egg: Carefully separated-you’ll use the yolk for the dough and the white for the coating.
- 1/2 tsp Vanilla Extract: The secret to a fragrant “Baking Therapy” Session.
- 1 Cup King Arthur All Purpose Flour: Measured by sifting for the perfect texture.
- 1/4 tsp Salt: To balance the sweetness.
- 3/4 Cup Finely Chopped Nuts: Walnuts or pecans work the best.
- Jelly or Jam: Orange marmalade, raspberry, or apricot are all amazing.

If you are going to make these cookies with a cookie scoop, make sure you double the recipe. These cookies are to-die-for.

The first thing to do for these cookies is you are going to mix the shortening plus butter, sugar, egg yolk, and vanilla thoroughly. Most people have a standing mixer for all these cookies, however, I use a hand mixer. It is easy to use, and it helps mix things faster.

🥣Step-by-Step Baking Instructions
1. Prep Your Nest
Before gathering your tools, preheat your oven to 350 F. Having a hot oven ready ensures your cookies set perfectly in 10-12 minutes.

2. Cream the Base Ingredients
Using a mixer (hand or stand) or using a whisk, thoroughly combine the margarine, brown sugar, egg yolk and vanilla until the mixture is smooth and creamy.

3. Sift and Blend
In a separate bowl, blend your salt and flour. For the best texture, measure your flour by using a sifter. This keeps the dough light and prevents the cookies from becoming too dense or “heavy.” Stir this into your wet ingredients until just combined.

4.🧘 The Mindfulness Moment: Shaping and Coating
This is where the Baking Therapy really begins. Roll the dough into small, 1 tablespoon balls.

Take a moment to breathe:
As you roll the dough between your palms, focus on the texture. Feel the warmth of the dough and the rhyme of your hands. When you dip each ball into the egg white and then the nuts, notice the sound of the crunch. Baking isn’t just about the result; it’s about being present in the “now.”

5. The “Thumbprint” Detail
Place the cookies 1 inch apart on an ungreased baking sheet. Use your thumb to GENTLY press an indent into the center of each ball. This of this as leaving your unique mark of peace on every cookie.

6. Bake And Fill
Bake for 10 to 12 Minutes until set. Once the cookies have cooled completely, fill the centers with a dollop of your favorite jelly.

Frequently Asked Questions
Q: Can I use butter instead of margarine?
Robby: Yes, substituting butter adds a richer flavor, though the cookies may spread slightly more.
What if the dought is too crumbly to roll?
Robby: Chill the dough for 15-20 minutes, or add a tablespoon of milk to improve consistency.
Do I fill the cookies with jelly before or after baking?
Robby: Bake the thumbprint Cookies first, then fill htem with jelly once they have cooled completely.

Are there alternatives to walnut coating?
Robby: Finely Chopped pecans, hazelnuts or coarse sugar work well.
How should these cookies be stored?
Robby: Store in airtight container for up to 5 days, or freeze without the jelly filling for longer storage.


Whether you’re baking these to share with neighbors or simply to enjoy a quiet mindful moment in your own nest, I hope these cookies bring a little extra warmth to your holiday season. There’s something so grounding about the rhythm of rolling dough and the nostalgic scent of toasted walnuts filling the Kitchen. So, grab a glass of milk, take a deep breath, and enjoy the sweet results of your kitchen zen.
Support the Baking Therapy Mission
Read & Connect on [Substack]
Get personal updates, deep dives into “anything and everything,” and exclusive sneak peeks of my upcoming book, The Tail of Smokie.
Join the Birdhouse ([Patreon] | [Ko-fi])
Become a member for exclusive Budget Breakdowns of every recipe.
Direct Support & Services on [Ko-fi]
- Pay-What-You-Want Recipes: Download the Recipes for Life series for $0 or a tip of your choice.
- The Bake Doctor: Send me your baking fails for a text-based “diagnosis.”
- The Pantry Scavenger: Tell me what’s in your cupboard, and I’ll create a recipe for you.
- Hooked on a Baked Good: Get adorable, handmade crochet items and custom recipe cards.

Thumbprint Cookies
Ingredients
- ½ cup shortening part butter or margarine
- ¼ cup brown sugar packed
- 1 egg separated
- ½ tsp vanilla
- 1 cup all-purpose flour
- ¼ tsp salt
- ¾ cup finely chopped nuts
- Jelly
Directions
- Preheat your oven to 350°F. In a large bowl, thoroughly mix your shortening (or whatever mix of butter and margarine you have on hand), brown sugar, egg yolk, and vanilla extract until smooth. Keep that egg white aside in a small dish for later.
- Sift your flour to measure it accurately, then blend it with the salt. Stir this dry mixture directly into your wet ingredients until a soft dough forms.
- Roll the dough into small balls, using about 1 teaspoon of dough for each. Give your reserved egg white a quick, slight beat with a fork until it is just a little frothy.
- Dip each dough ball into the egg white, then roll it in your chopped nuts until coated. Place them about 1 inch apart on an ungreased baking sheet. If you don’t have nuts on hand, you can absolutely skip this step and go straight to the baking sheet!
- Press your thumb gently into the center of each ball to make a nice little well. Bake for 10 to 12 minutes, or just until the cookies are set.
- Let the cookies cool completely, then fill each thumbprint center with a spoonful of whatever jelly or jam you have sitting in your fridge. This straightforward recipe stretches easily to make about 3 dozen cookies.
I’d love to hear from you- what’s your go-to filling for these little gems? Are you team raspberry, or do you prefer a classic orange marmalade? Drop a comment below and share your jelly flavors or a special baking memory that makes your kitchen feel like home. Let’s keep the “kitchen zen” going together!
Happy Baking, everybirdy! 🦜⭐
Leave a Reply