Briella baked them first. My family has been asking for them ever since.
The “baking therapy” discussed on this blog refers to my personal experience using baking as a self-help and relaxation tool.”
This recipe did not start in my real kitchen. It started in Briella Ponder’s.
Back in December 2019, before this blog had a real home, I was telling Sims stories on Tumblr. Generation B was my legacy story, and Briella was its baker. In Chapter 4, Briella bakes candy cane crinkles for Winterfest, and she walks you through the whole recipe herself, screenshot by screenshot.
Years later, I baked those same cookies in my real kitchen, and they became one of my family’s most asked-for holiday cookies. Now, as soon as a candy cane appears in our house, somebody asks when I am making them. So I am updating this post instead of splitting the story into a new one. The recipe and the Sims chapter belong together. Same cookies, same post, fuller story.
You still get the real recipe and the real costs here: $1.98 a batch at Walmart, $1.72 at Costco, and $1.55 the food bank way, when the candy canes were given to me. And now you get Briella’s original Winterfest version too, in her own words, lightly tidied for spelling.
One note I always keep on this post: when I say baking therapy, I mean my own way of finding calm in the kitchen. I am not a professional therapist. I am just a baker who knows that a warm oven and a simple recipe can make a hard day feel smaller.
Meet Briella Ponder
Sul Sul, gerbits! Briella Ponder here! Today we are going to be learning how to make my famous candy cane crinkles. I found this recipe while perusing Simterest. I always have leftover candy canes from my birthday. Sometimes, you just get tired of eating candy cane after candy cane. So I found this recipe.


What You Will Need
You will need:
- 1 1/2 cups all-purpose flour
- 3 candy canes, crushed, about 1/4 cup (or crushed peppermints, Briella’s summer swap)
- 1/2 cup margarine (Briella says butter. My real kitchen version uses margarine, and it works beautifully)
- 1 cup granulated sugar
- 1/2 tsp vanilla extract
- 1 egg
- 1/2 tsp salt
- 1/4 tsp baking powder
- 1/8 tsp baking soda
- 1/2 cup powdered sugar, for rolling
Makes 24 cookies. These amounts are from my real recipe card for these cookies. The recipe is adapted from Lauren’s Latest, and Briella found it the same way I did, through the original.
My note on the margarine: it is not a sad substitute in this kitchen. It keeps the cookies soft, it is friendly to the budget, and depending on the brand you buy, it can make the cookies an option for someone who cannot have dairy. That matters to me. A cookie everyone at the table can eat is a better cookie.

Let’s Get Baking
You are going to preheat your oven to 350 degrees. Then grease light colored baking sheets with nonstick cooking spray, line with parchment paper or use a silicone baking mat, and set aside.
This is where you would crush your candy canes in a plastic freezer bag, using a meat tenderizer or a rolling pin. But because we are making these in the summer and don’t readily have candy canes, I already crushed some peppermints that I got from the store.
Robby’s note from the real kitchen: this is still the part I look forward to most. Crushing the candy is the stress relief step. Bag, rolling pin, bad day gets smaller. And do not worry about making the pieces even. The rustic pieces are the point. They melt into little pockets of mint and give the cookies a better texture than perfect crumbs would.


In a large bowl, you want to cream your butter and sugar together until light and fluffy. Once the mixture gets fluffy, whip in your vanilla and egg. Make sure to scrape the edges of your bowl and mix again.
In a small separate bowl, you are going to mix all your dry ingredients, which is your salt, baking powder, baking soda, and flour. Slowly add this mixture to your other bowl, remembering to scrape the sides of the bowl. When the two mixtures are combined, stir in the candy canes, or in our case, the peppermints.


At this point, pour some powdered sugar onto a plate. With your cookie dough mixture next to you, you are going to roll a heaping teaspoon of dough into a ball, and roll it in the powdered sugar. Place these cookie dough balls at least an inch apart. They tend to spread more than you would think.
Another note from my real post, because it saves the snowy look: be generous with that powdered sugar coat. That heavy coat is what gives you the strong white crinkle against the red candy pieces. If your kitchen is hot and the dough feels soft, chill the rolled balls for 15 minutes before baking. It helps more than you would expect.
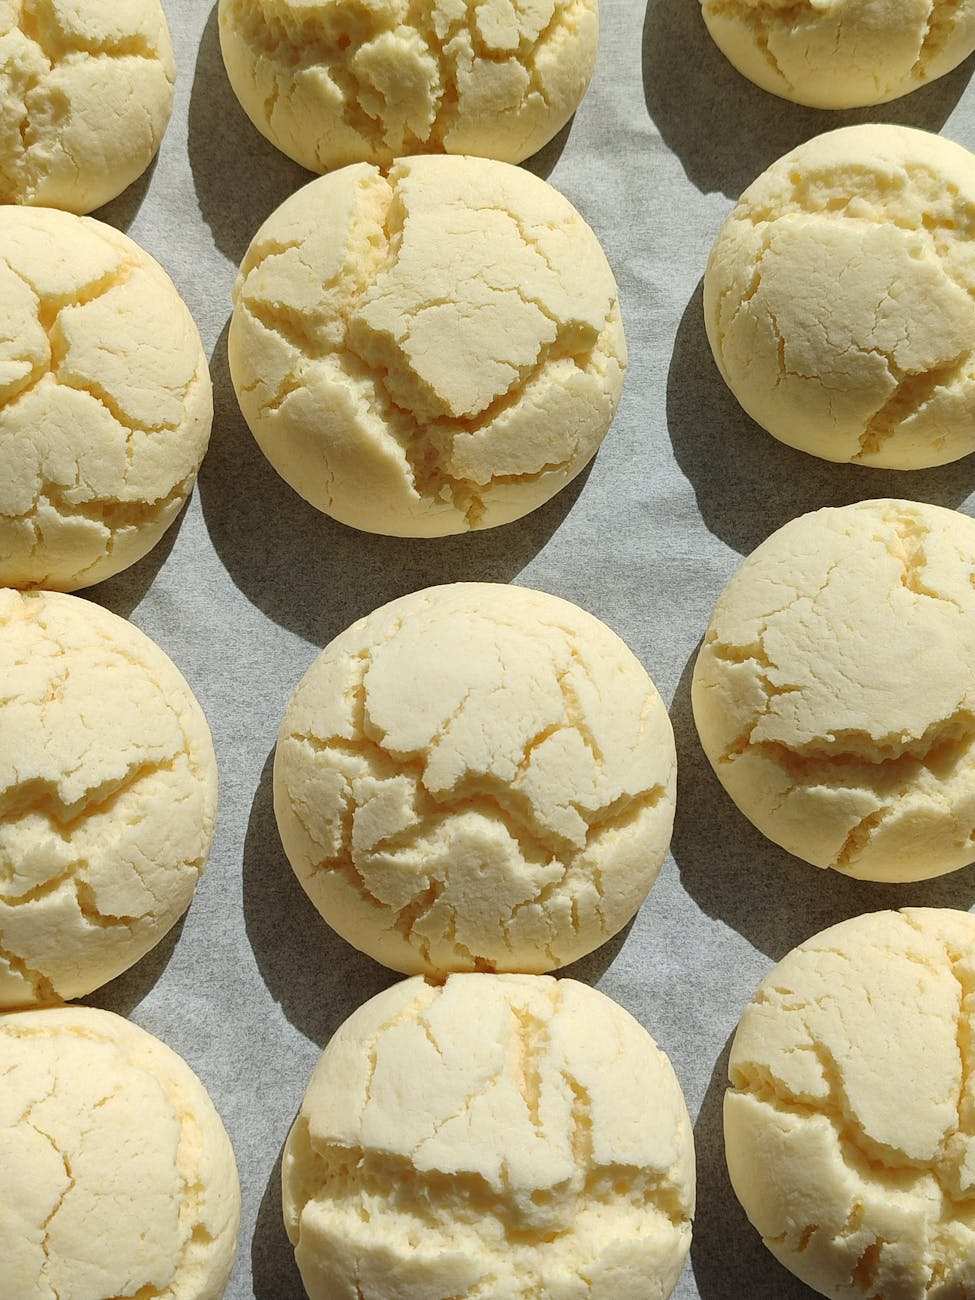
You are gonna want to bake the cookies for about 9 to 11 minutes, or until the bottoms begin to barely brown and the cookies look matte, which means they don’t look melty or shiny.


Questions and Robby
Is this a real recipe, or just a Sims one?
Both. Briella’s version came first, in 2019, and the recipe she follows is a real one. This page is the real kitchen version, costed three ways, like everything here: $1.98 a batch at Walmart, $1.72 at Costco, and $1.55 the food bank way, when the candy canes were given to me.
Why peppermints in a Winterfest chapter?
Because Briella baked them in the summer, and candy canes are hard to find in the summer, in her world and in mine. Crushed peppermints are the same candy wearing a different shape. She says so herself, and she is right.
Can I use butter instead of margarine?
Yes. Briella did. Use it at room temperature so it creams properly, and know that butter cookies may spread a bit more. I use margarine in my real version, but the cookies are forgiving, which is part of why I love them.
How do I store them?
In an airtight container at room temperature for up to 5 days. My trick from the real post: tuck a small piece of white bread in the container with them. It helps keep the cookies soft. The bread gets stale so the cookies do not have to.
Why update this post instead of making a new one?
Because Briella’s chapter and my real recipe are the same cookies. Splitting them would make readers choose between the story and the recipe, and I do not want that. This post keeps its home, its readers, and its recipe card, and now it carries the whole story of where the cookies came from.
Where can I read more of Generation B?
The whole story started on my Tumblr, robbybirdy, in 2019. I am bringing the baking chapters home by folding them into the matching recipe posts, starting here, because those are the chapters where this blog really began.
Closing
My favourite flavour in the entire world is candy cane and mint. That was true when Briella said it through me in 2019, and it is still true now. Some recipes you bake once. These came back every year, in two kitchens at once.
This is also the part where I always ask: what is your stress relief bake? The one you make when the day has been too much and you need your hands busy and something sweet at the end of it. Tell me in the comments. I read them, and I collect the answers like recipe cards.
And because the real post carries this too, I want it carried here: feeding people is not a side note in my work. One October, I walked 31 miles for Feeding America. Different kitchen, same reason. Nobody should feel small for needing food, and good food should not belong only to people with big grocery budgets.
Thanks for reading a piece of where this blog came from. You are not alone in the kitchen, in either world.
Bake the real thing. The full recipe card is on this page, with Briella’s story above it and my real costs beside it: $1.98 a batch at Walmart, $1.72 at Costco, $1.55 the food bank way. Print it, save it, or bake straight from the screen.
Join the Flock. My newsletter is where the new recipes, the real costs, and the next chapters land first. It is free, and you are welcome at the table: Robby’s Baking Therapy on Substack.
Support the kitchen. Tips and printables live on my Ko-fi, and $1 of every $5 goes to the Geneva Center of Concern, the food pantry where I volunteer: Robby’s Baking Therapy on Ko-fi.
Shop the story. The tools and ingredients from my kitchen are gathered on Benable, if you want to bake along: Robby Birdy on Benable.


Easy Candy Cane Crinkles
Ingredients
- 1 1/2 cups All-Purpose Flour
- 3 Candy Canes Crushed. About 1/4 Cup
- 1/2 Cup Margarine**
- 1 Cup Granulated Sugar
- 1/2 tsp vanilla extract
- 1 egg
- 1/2 tsp Salt
- 1/4 tsp Baking Powder
- 1/8 tsp Baking Soda
- 1/2 cup Powdered Sugar
Directions
- Prep Your Space: Let's get our kitchen ready for a little baking therapy! Preheat your oven to 350°F and grease your baking sheets with nonstick spray or line them with parchment paper. Set them aside so you're ready to go.
- Crush & Release: Put your candy canes into a plastic bag and give them a good smash with a rolling pin until they are finely crushed. Set those beautiful peppermint bits aside for later.
- Cream with Care: In a large bowl, cream together your softened margarine and sugar until the mixture becomes wonderfully light, fluffy, and smooth. Once it's perfect, mix in the vanilla and egg until combined.
- Whisk Your Dry Ingredients: In a separate small bowl, stir together your flour, salt, baking powder, and baking soda—leaving the powdered sugar out for now.
- Bring It Together: Slowly mix your dry ingredients into the wet mixture until it's just combined. Scrape down the sides of the bowl with a spatula, and then gently stir in those crushed candy canes.
- Roll into Sweetness: Pour your powdered sugar onto a small plate. Scoop a heaping teaspoon of dough, roll it into a neat little ball in your hands, and coat it completely in the powdered sugar until it looks like a mini snowball. Place it on your baking sheet and repeat with the rest of the dough.
- Bake & Breathe: Bake for 9 to 11 minutes until the bottoms are a barely-there golden brown and the tops look beautifully matte and crinkled. Let them rest on the warm sheet for 3 minutes before transferring them to a wire rack to cool completely.






Leave a Reply