The “baking therapy” discussed on this blog refers to my personal experience using baking as a self-help and relaxation tool.”
Original Authors: Musselman’s (Filling) & Betty Crocker (Crust)

Hey everybirdy!
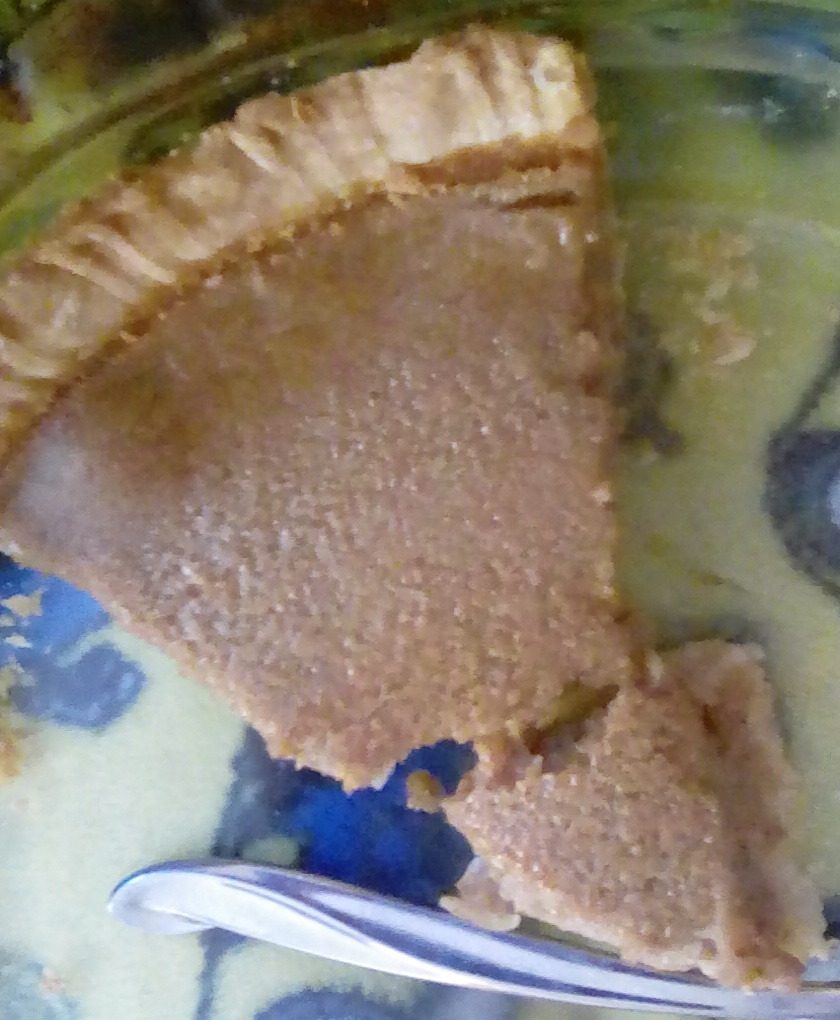
After making another fresh batch of homemade apple butter, I knew exactly what I had to bake next: an Apple Butter Pie. This recipe is truly special—it has the warm, spiced flavor of a classic apple pie but with the smooth, creamy consistency of a pumpkin pie. It’s a wonderful twist on a traditional dessert that brings a cozy “harvest” feel to your kitchen.

📋 The Therapeutic Benefit:
Finding Flow in the Fold
Making a pie crust from scratch is one of my favorite baking therapy activities. There is something so tactile and grounding about “cutting” the shortening into the flour until it reaches that perfect pea-sized texture. It requires you to be gentle and patient with the dough. As you pour the spiced apple butter filling into the shell, the aroma of cinnamon and apples fills the air, creating a calming environment that helps melt away the stress of the day.

💡 Tips for a Flaky, Perfect Pie
The Quick-Chill Crust:
Once you’ve gathered your pastry into a disk, wrap it and pop it in the freezer while you prepare the filling. Keeping the fats in the dough ice-cold is the secret to a flaky, professional-style crust that doesn’t shrink in the oven.
The Foil Trick:
Because we start the oven at a high heat (450°F) to set the crust, the edges can brown quickly. Carefully cover the edges with foil after the first 10 minutes to protect them, while the custard-like center finishes baking at 350°F.

Essentials (Ingredients)
For the Betty Crocker Crust:
- 2 cups All-Purpose Flour
- 2/3 cup Shortening (or Butter for extra flavor)
- 1 tsp Salt
- Ice cold water
For the Apple Butter Filling:
- 1 cup Apple Butter (Musselman’s or homemade)
- 1/2 cup Sugar
- 2 Eggs
- 1 1/2 Tbsp Cornstarch
- 1 tsp Cinnamon
- 1 cup Milk
👩🍳 Step-by-Step Instructions


1. The Crust:
Whisk flour and salt. Cut in shortening until crumbly. Add ice water 1 tablespoon at a time until moistened. Shape into a disk and freeze for 10–15 minutes.
2. Prep:
Preheat your oven to 450°F.

3. Mix Filling:
In a large bowl, whisk together sugar, eggs, cornstarch, and cinnamon. Stir in the apple butter until well combined.
4. Blend:
Gradually add the milk, blending until smooth.


5. Bake Part 1:
Pour into your unbaked pie shell. Bake at 450°F for 10 minutes.
6. Bake Part 2:
Carefully cover the crust edges with foil. Reduce heat to 350°F and bake for another 45 minutes. The center should have a slight jiggle.

7. Cool:
Allow the pie to cool completely before serving to let the filling set.


Final Thoughts
This pie was a total success—the combination of the flaky crust and the creamy, spiced filling is amazing. It’s a great reminder that even when we feel like we’re doing the same tasks over and over (like making batch after batch of apple butter!), they can lead to something new and beautiful. Stay safe and enjoy every bite!

💬 Join the Conversation
I love hearing how you customize your pies!
Leave a comment:
- Do you prefer your pie plain, or are you a “whipped topping” fan?
- Your Favorite Spices: Would you add nutmeg or ginger to this recipe for an extra kick?
Happy baking!?
Apple Butter Pie
Ingredients
- 1/2 cup sugar
- 2 eggs
- 1 1/2 Tablespoons cornstarch
- 1 teaspoon cinnamon
- 1 cup Apple Butter Musselman’s
- 1 cup milk
Directions
- Preheat oven to 450 F.
- In a large bowl, combine sugar, eggs, cornstarch and cinnamon. Add apple butter and mix well.
- Add milk gradually to the mixture and blend together. Pour into an unbaked pie shell.
- Bake at 450 F for 10 minutes, then cover crust edges with foil. Reduce heat to 350 F and bake for 45 minutes longer.
- The Center will slightly jiggle. Allow to cool before serving. Garnish with whipped topping.

Pie Crust
Ingredients
- 2 cups flour
- 1 tsp salt
- ⅔ cup butter or shortening butter makes it flakier!
- Ice-cold water
Directions
- Whisk your flour and salt together in a medium bowl. Cut in your cold shortening (or a cold mix of shortening and margarine) using a pastry blender or a simple dinner fork. Work it gently until the mixture looks like coarse crumbs, about the size of small peas.
- Sprinkle in your ice-cold water, one tablespoon at a time. Toss gently with a fork after each splash. Keep going until all the flour is nicely moistened and the pastry naturally pulls away from the sides of the bowl. If it still feels a bit dry, don’t worry—just add an extra teaspoon or two of water.
- Gather your pastry into a smooth ball and divide it right in half. Shape each piece into a flattened round disc on a lightly floured countertop. Wrap the discs up and refrigerate them for 45 minutes to let the dough chill and firm up. This restful chill is the secret to a beautifully flaky, tender crust.When you are ready, roll out your bottom crust. Grab your rolling pin, dust your countertop with a little flour, and roll one dough round into a beautiful circle. Aim for it to be about 2 inches wider than your 9-inch pie plate.
- Gently ease the pastry into your pie plate. You can loosely roll the dough around your rolling pin to move it over, or fold it gently into quarters, place it in the dish, and unfold it. Press it softly against the bottom and sides without stretching it, and it’s ready to go.
Leave a Reply